DIY Plantation Shutters with Cladding Boards and Planned Wood
If you’re looking for a cost-effective, stylish way to enhance your windows, DIY plantation shutters might just be the perfect project for you. Creating these shutters using cladding boards and planned wood is not only budget-friendly but also allows for a fully customized look. With a little woodworking knowledge and patience, you can add a rustic or contemporary flair to your home.
In this blog post, I’ll guide you through the process of building your own plantation shutters, using simple materials like cladding boards and planned wood. Let’s get started!
Why Choose Plantation Shutters?
Plantation shutters are highly versatile and functional window treatments. They provide excellent control over natural light, offer privacy, and add value to your home. Unlike curtains or blinds, shutters are durable and easy to maintain. Plus, by building them yourself, you get a custom fit and a style tailored to your home’s décor.
Materials You’ll Need
For this project, you’ll primarily be using cladding boards and planned wood. Here’s a list of essential materials and tools you’ll need to get started:
- Cladding boards (for the louvers)
- Planned wood (for the frame and stiles)
- Wood glue
- Hinges
- Screws
- Small hocks for the rod and control the shutters
- Dowels (4mm diameter)
- Measuring tape
- Sandpaper
- Wood filler
- Paint or stain (optional)
- Circular saw or hand saw
- Drill and screws
Step 1: Measure Your Windows
The first and most important step is to accurately measure the height and width of the windows where you’ll install the shutters. For best results, measure both the inside and outside of the window frame to ensure a perfect fit.
Once you have your measurements, you can determine the size of the frame and the number of louvers (the horizontal slats) you’ll need.
Step 2: Build the Shutter Frame
Start by cutting the planned wood for the shutter frame. You’ll need two vertical stiles and two horizontal rails. After cutting, assemble the frame using screws to make sure all fits ok in the window.
Tip: Sand the frame lightly with sandpaper before assembling to ensure a smooth surface.
Step 3: Prepare the Louvers
For the louvers, use cladding boards, which are durable and have a beautiful grain. Cut the cladding boards into strips, ensuring they are wide enough to span the width of the shutter frame.
Drill a 4mm hole in the middle of each side and add the dowels leaving some part out so it connects to the frame.
Once your boards are cut, sand them down to remove any rough edges. The number of louvers will depend on the height of your window, but space them evenly within the frame for the best look.
Mark all the places so you can then drill the holes (5mm) in the frame, make sure all is perfectly aligned.
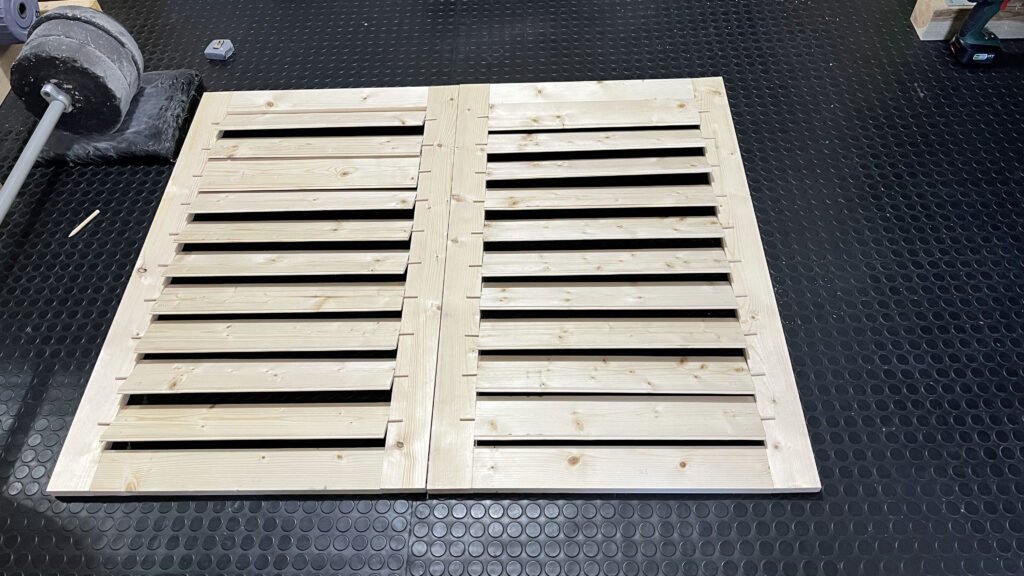
Step 4: Assemble the Shutters
Now it’s time to assemble! Attach the louvers to the vertical stiles, spacing them evenly and securing them with the dowels. In the of the vertical boards, replace the dowels with screws in one of the shutters to give some tension and allow the shutters to stay in position.
Cut a rod of the size of the window so you can control the shutters. Add in the middle of each shutter one small hock and the same to the rod so they can be attached to each other.
Test everything is working fine.
Step 5: Sand, Fill, and Finish
After assembling the shutters, inspect the wood for any gaps or imperfections. Use wood filler to fill small cracks or holes, then sand the entire piece for a smooth finish.
Once the wood is prepared, you can paint or stain the shutters to match your interior décor. Whether you opt for a natural wood finish or a pop of color, make sure to apply a protective coat of sealant for durability.
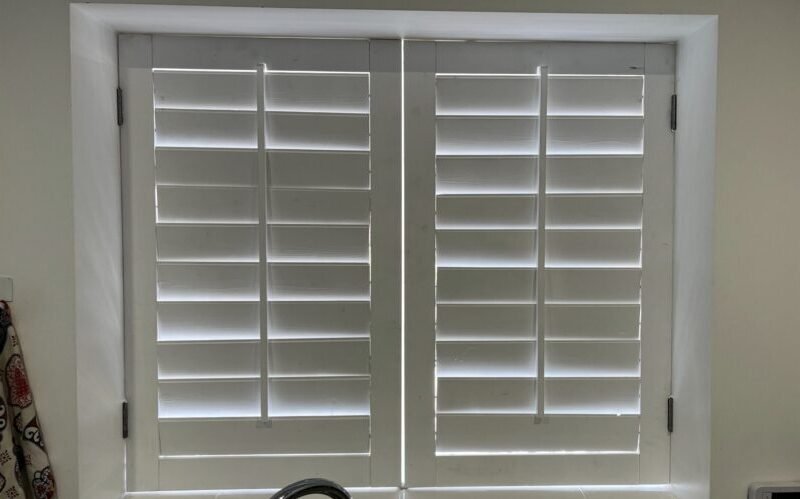
Step 6: Install the Hinges
Finally, attach the hinges to the shutters and mount them to your window frame. Make sure the shutters are level and swing open and closed smoothly. If the shutters feel stiff, try adjusting the screws or applying a bit of lubricant to the hinges.
Step 7: Add Finishing Touches
Once the shutters are installed, you can add any final touches like decorative hardware or handles. This step is optional, but it can really elevate the look of your shutters and make them a unique feature of your home. You can also add some magnets to keep the shutters closed in place.
Conclusion
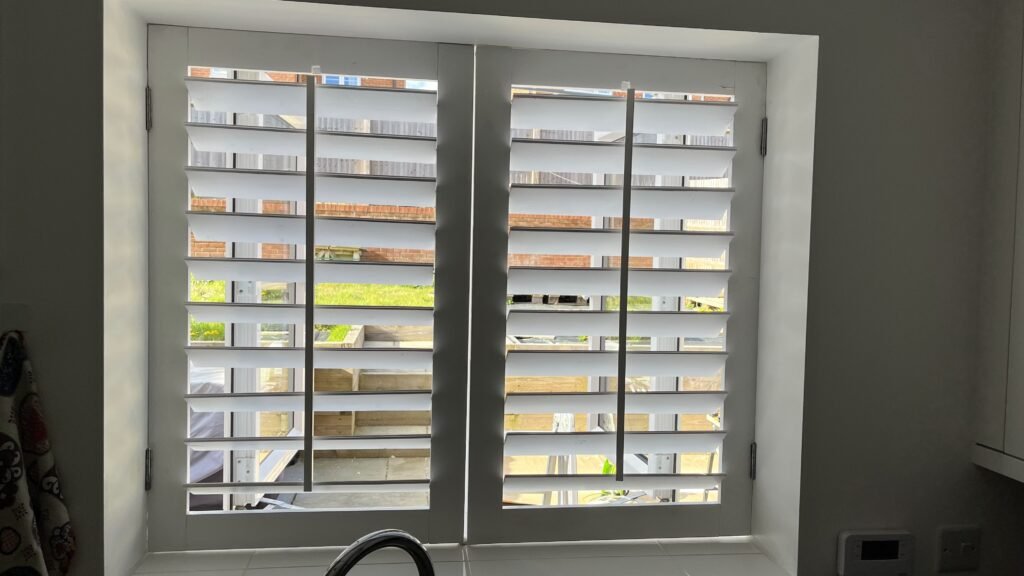
Creating your own plantation shutters using cladding boards and planned wood is a rewarding DIY project that not only enhances your windows but adds character to your space. Whether you prefer a rustic, natural wood look or something more polished, you can customize these shutters to suit your style. With some basic tools and a bit of woodworking knowledge, you’ll have beautiful, functional shutters that add privacy, light control, and charm to any room.
Ready to start your DIY plantation shutters project? Gather your materials and follow these steps, and you’ll have stunning, custom window treatments in no time!
Get in touch if you have any comments or questions.