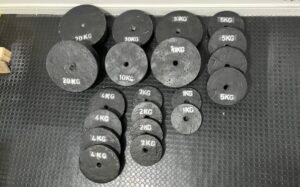
Creating your own barbells/dumbbells is an excellent DIY project that can save you money and allow you to customize the weight to suit your fitness needs. Here’s a step-by-step guide to making durable and functional barbells.
Table of Contents
ToggleMaterials Needed
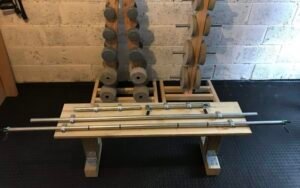
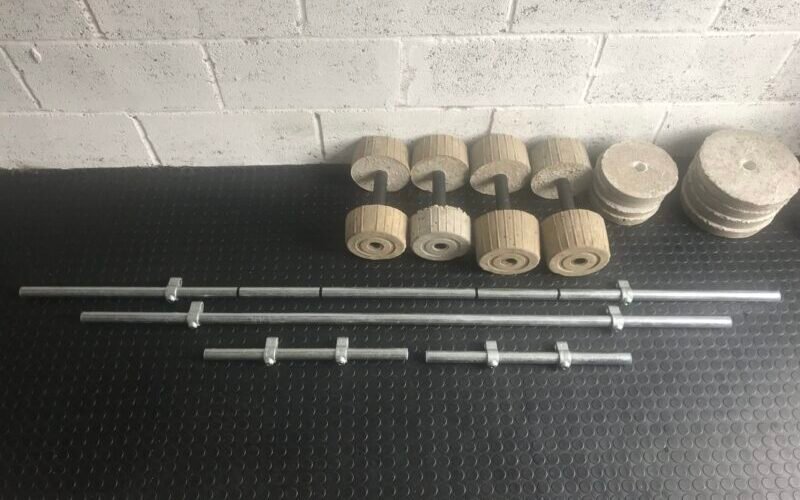
- Galvanized Tube: Cut to size. Diameter 26.9mm, length (Your bar size). Link.
- Q Clamp Gate Eye: Diameter 26.9mm. Link.
- Q Clamp Plastic Stop End: To protect the end of the tube. Link.
- Weight Clamps: You can get some of the universal barbell clamps to avoid the weights to fall of the barbell.
Tools Needed (Check some of my tools here)
- Screw driver: For the clamps.
- Protective gear: Gloves and a mask to protect you.
- Tape Measure: To make sure all is in the correct position.
Step-by-Step Instructions
1. Get the Tube
Once you get the tube at the right measure (If not, then you will need to cut it), measure where the clamps will be, this is where the weights will stop.
2. Add the Clamps
Attach the clamps in place.
3. Attach the Plastic Caps
When all is complete, just add the plastic stops at both ends and you are done.
Finishing Touches
You can paint the barbell/dumbbell in the end if you would like.
Tips and Tricks
- Cut to size: If you buy the tubes already cut to size will save you some time.
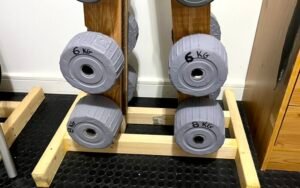
- Barbell or Dumbbell: You can make a barbell or dumbbells that you can add weights on, this way you will have dumbbells that are customizable.
- Weight Clamps: There are different sizes, you can buy universal ones for that size or simple create your own.
Making your own barbells/dumbbells is a rewarding project that not only saves money but also allows for customization to suit your fitness needs. Enjoy the process and the satisfaction of lifting weights you made yourself!
Happy lifting! If you have any questions or want to share your DIY barbells/dumbbells, send me a message and if I get a lot of requests, will add a video explaining the whole process.