Creating your own dumbbells with concrete is an excellent DIY project that can save you money and allow you to customize the weight to suit your fitness needs. Here’s a step-by-step guide to making durable and functional concrete dumbbells.
Materials Needed
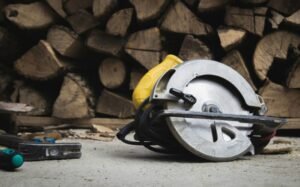
- Concrete mix: Available at any home improvement store.
- Water: To mix with the concrete.
- Moulds: Two identical plastic containers, such as large yogurt cups or small buckets. Can to one side at a time.
- PVC pipe: For the dumbbell handles with 32mm diameter.
- Sandpaper: To smooth the edges (Optional).
- Cooking spray or oil: To coat the moulds for easy removal (Optional).
- Duct tape: To secure the PVC pipe in place.
- Wooden dowels or metal rods: Optional, for reinforcement. You can also use some metal hangers.
Tools Needed (Check some of my tools here)
- Bucket: For mixing the concrete.
- Trowel or spatula: For smoothing the concrete.
- Measuring tape: To ensure consistent sizes.
- Scale: For precise weights (Please consider the drying process)
- Protective gear: Gloves and a mask to protect from concrete dust.
- Saw: To cut the PVC pipe.
Step-by-Step Instructions
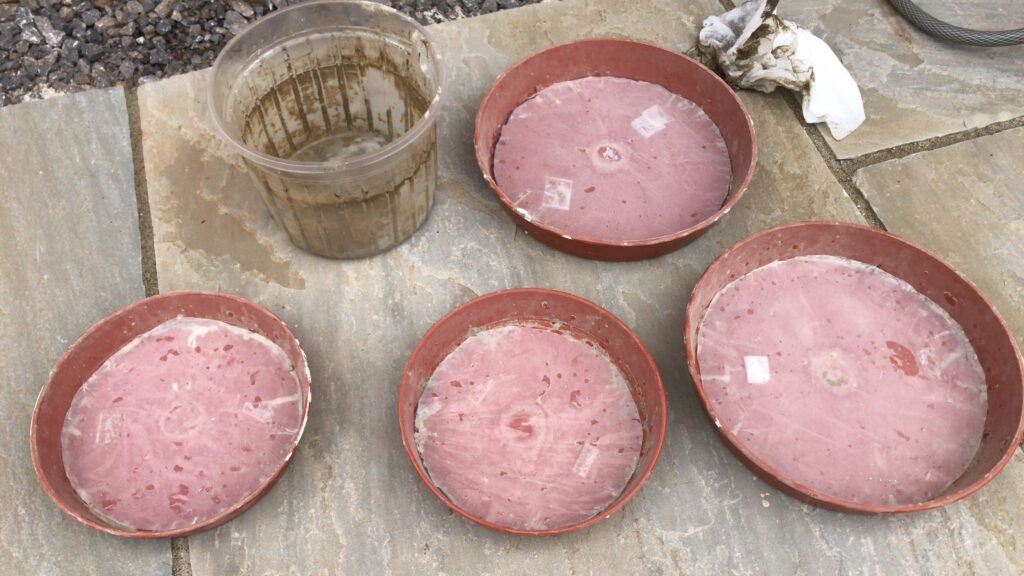
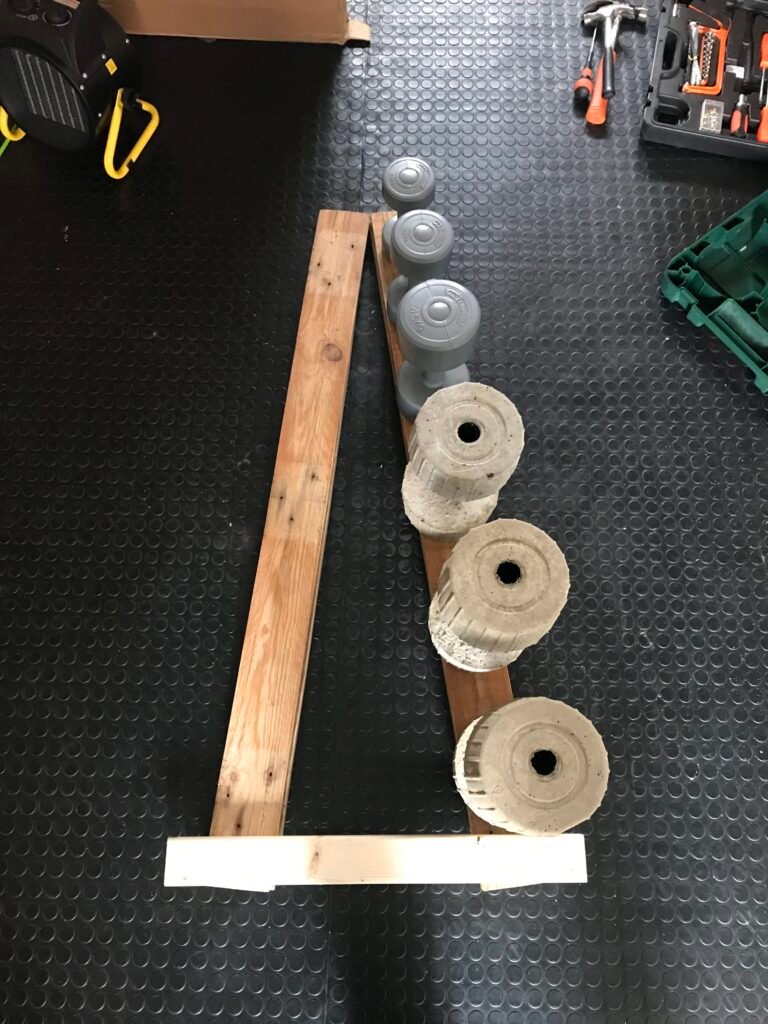
1. Prepare the Molds
Choose two identical moulds that will form the ends of the dumbbells. Plastic containers, such as large yogurt cups or small buckets, work well. Coat the inside of each mould with cooking spray or oil to ensure easy removal of the concrete once it sets. You can do one side at a time using the same mould.
2. Cut the PVC Pipe
Measure and cut the PVC pipe to the desired length for your dumbbell handle. Ensure it is long enough to fit between the two moulds with some extra length for gripping. A length of 10-16cms between both sides for hold them usually works well.
3. Mix the Concrete
In a bucket, mix the concrete according to the instructions on the package. Add water to the concrete mix and stir until it reaches a thick, workable consistency. Always wear gloves and a mask to protect yourself from the dust.
4. Insert the PVC Handle
Place the PVC pipe in the centre of one mould. Ensure that it is positioned straight and extends equally on both sides. Secure the PVC pipe in place with duct tape to prevent it from shifting.
5. Fill the Moulds
Fill the remaining space in the moulds with concrete, covering the ends of the PVC pipe completely. Tap the sides of the moulds gently to remove any air bubbles and ensure the concrete is evenly distributed. Use the rods/hangers/etc. in the middle to give it some strength. Use the scale to make sure you have the correct weight, leave a bit extra due to the drying process.
6. Let the Concrete Set
Allow the concrete to set for at least 24-48 hours. The setting time may vary depending on the size of the moulds and the type of concrete used. Ensure the moulds are kept in a dry, well-ventilated area during this time.
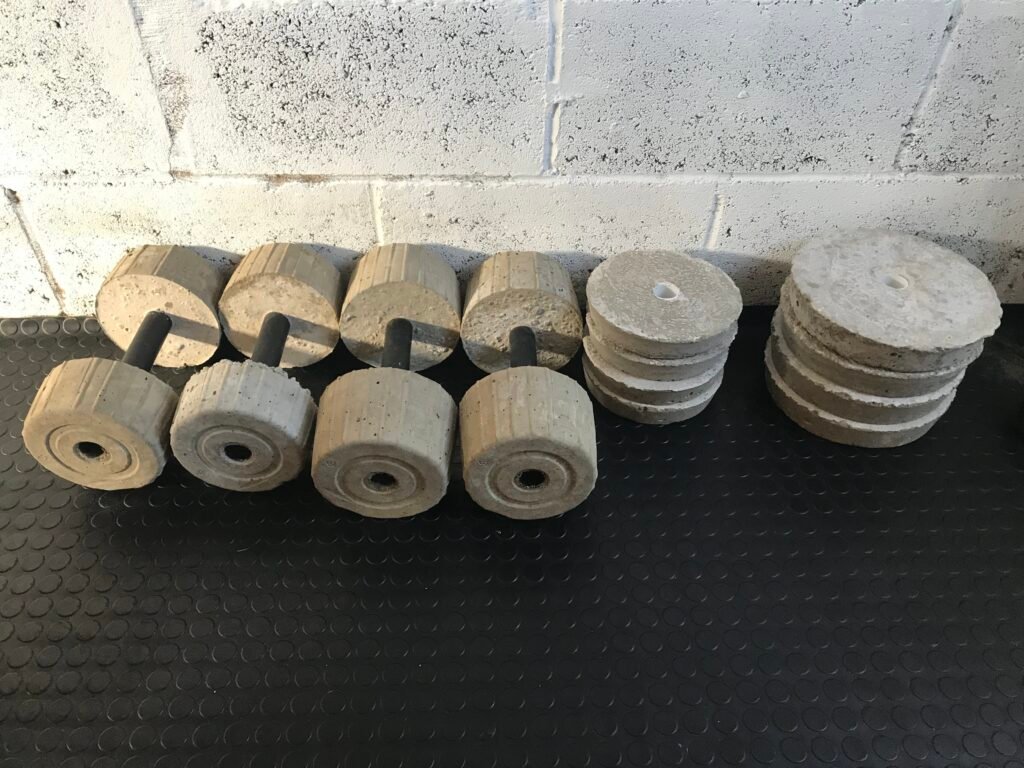
7. Remove the Dumbbells from the Moulds
Once the concrete is fully set and hardened, carefully remove the dumbbells from the moulds. If you used cooking spray or oil, they should come out easily. If needed, use a knife to gently pry them out.
8. Smooth the Edges
Use sandpaper to smooth any rough edges or imperfections on the dumbbells. This will make them more comfortable to handle and use.
Finishing Touches
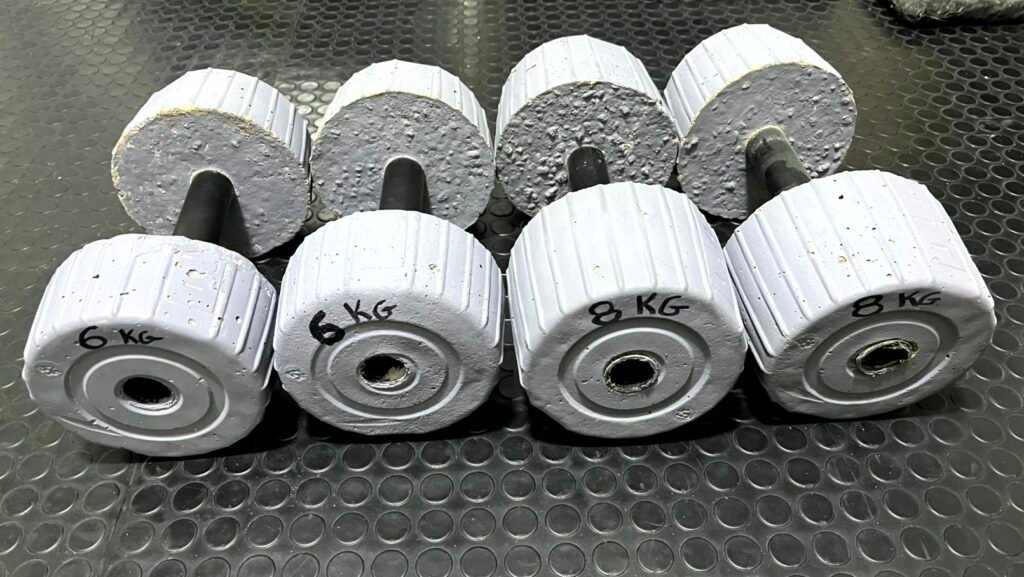
Inspect the dumbbells to ensure they are balanced and the PVC handle is secure. You can paint the dumbbells or add a sealant for a polished look and to protect them from moisture.
Tips and Tricks
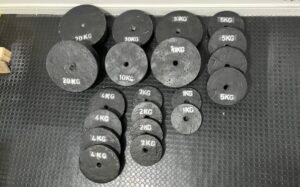
- Customize Your Dumbbells: Add some personal flair by embedding small items or adding designs to the mould before pouring the concrete. You can add the weight on each side for easier identification.
- Weight Variation: Adjust the amount of concrete and the size of the moulds to create different weights. Smaller moulds for lighter weights and larger moulds for heavier weights.
- Reinforcement: For added strength, consider placing wooden dowels or metal rods inside the PVC handle before pouring the concrete.
Making your own concrete dumbbells is a rewarding project that not only saves money but also allows for customization to suit your fitness needs. Enjoy the process and the satisfaction of lifting weights you made yourself!
Happy lifting! If you have any questions or want to share your DIY dumbbells, send me a message and if I get a lot of requests, will add a video explaining the whole process.
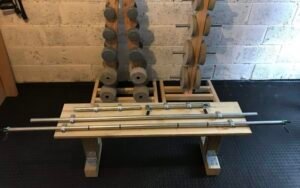
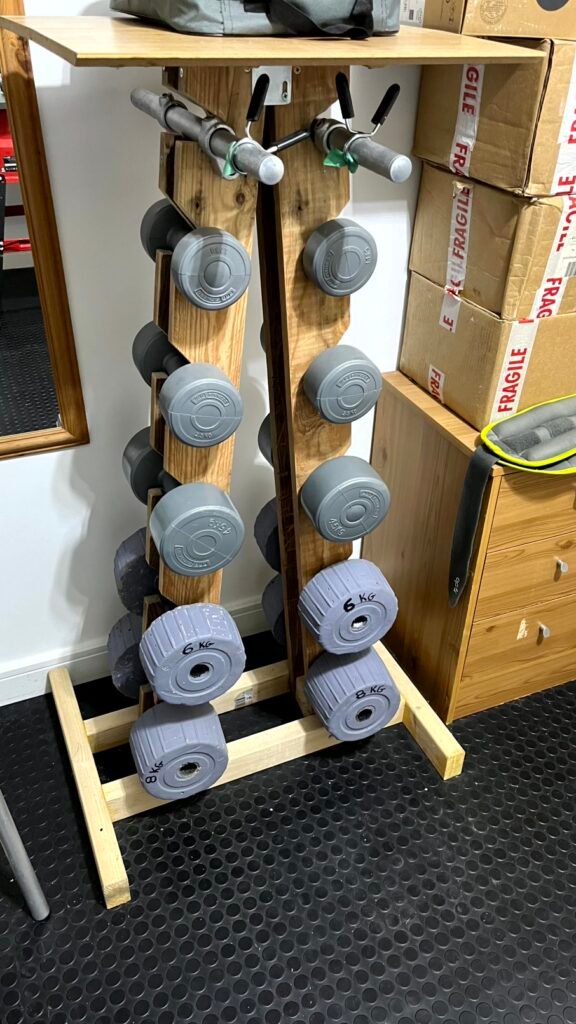
Check here on how to do the rack for the dumbbells.