You have some Dumbbells laying around taking all the space and you can never find them? Have you built your own like in this post and don’t have a rack for it? Here is a solution, create your own rack custom to you and that will save you some space and money.
Here’s a step-by-step guide on how to make your own dumbbells rack.
Materials Needed
Working with the measures I needed, you might have to adjust.
- Pallet wood (1200mm)
- Wood 38x63mm: 1 board of 2400mm.
- Wood Screws
- Wood Glue
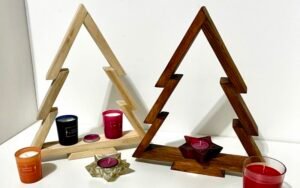
- Some wood for the top (Optional, I just created this to add a small table for Laptop/Tablet/Phone while exercising)
Tools Needed
- Drill
- Saw (Circular or other)
- Sander (Or just sandpaper)
- Clamps
- Square (Make sure things are square or else it might break with the weight)
- Tape Measure
- Wood stain or paint (optional)
- Paintbrush or roller
Step-by-Step Instructions
1. Check for Layout
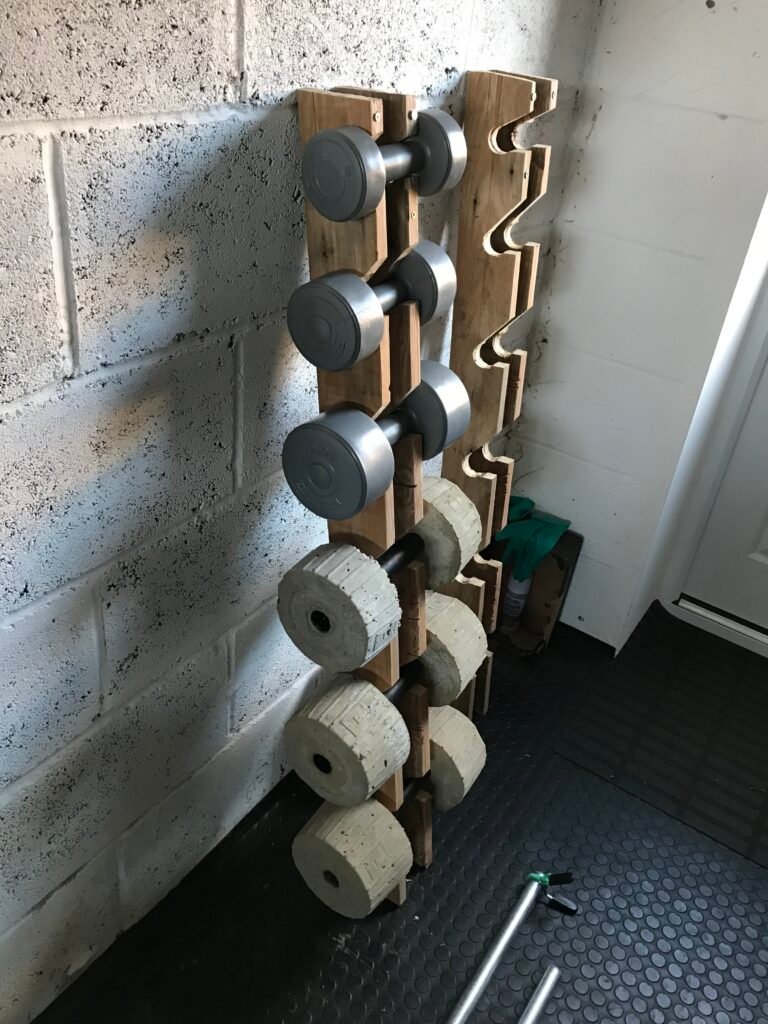
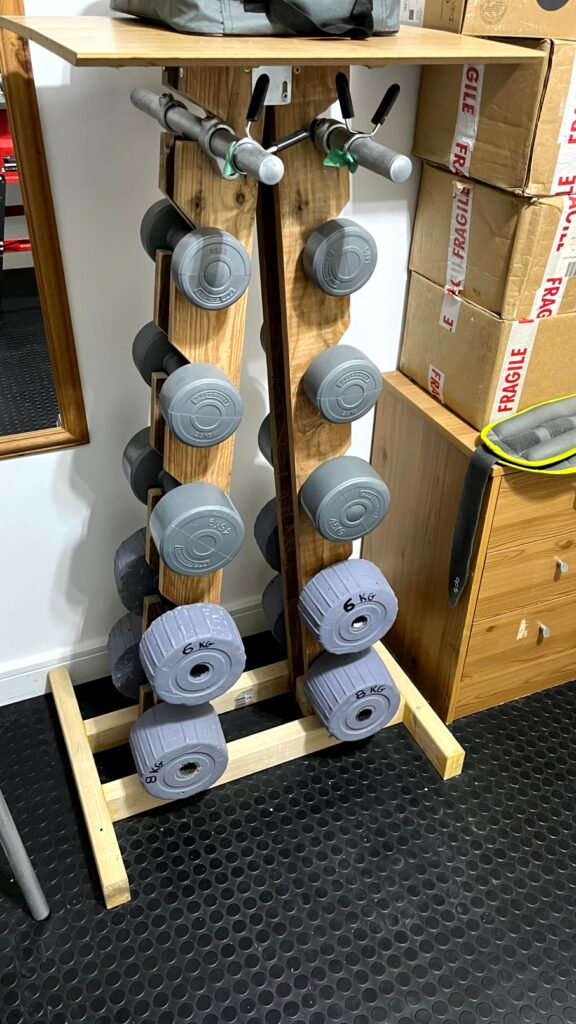
Lay down 4 pallet boards with 120cm forming a small angle like the picture below and check the best position for your dumbbells. Adjust as needed and mark when the lines at the top and bottom should be, as well as the place for each pair of dumbbells.

2. Cut the Wood
Cut the top and bottom of the 4 pallet boards so they can lean against each other forming an inverted V.
38x63mm into 2 of 500mm and 2 of 600mm
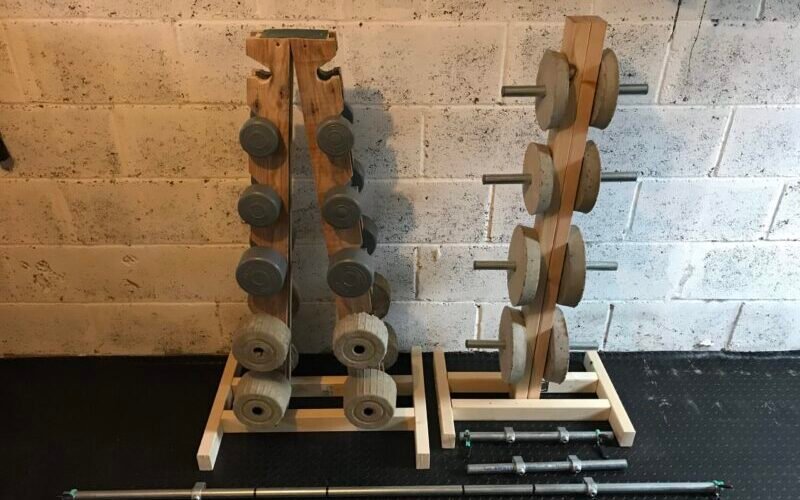
3. Structure
Put the 4 pallet boards together (You can also do 2 at a time) and drill the holes where the dumbbells will be (make sure they are symmetric), using a jigsaw or other saw, cut to the holes so you can insert dumbbells.
Measure everything and make sure you can put and take out dumbbells with no problem.
Sand everything well so you don’t cut yourself when using it, if possible round the edges with a router or just sanding it.
When putting the structure together, add to small pieces of the 38x63mm board at the bottom of each side to keep the space between the pallet boards on each side, use some remaining’s of the pallet boards for the top spacers.
Make sure all is symmetric and square and start the glue and screw process.
4. Make the base
Put the 2 600mm at the bottom parallel to the pallet boards of the structure, glue and screw them to the structure.
Add the 2 500mm perpendicular to the previous ones on each side and glue and screw them as well.
You can add some metal plates to reinforce the structure.
5. Optional Top
Attach a top to the structure so you can use it as a table when you exercise, this can be used for a laptop or even a phone while you watch something.
Finishing Touches
Make sure all is well square and balanced, add the weights to test.
You can apply a finish or paint the rack and make it part of your home gym.
Tips and Tricks
Make sure you measure everything well and plan it so you don’t get any surprises.
Hope this will help you to start your own rack for all the dumbbells you built or the ones you had already around. If you have any questions or want to share your DIY ideas, send me a message and if I get a lot of requests, will add a video explaining the whole process.